
Five Pro Tips For Effective Brake Bleeding For Reliable Track Use
March 15, 2019
One of the first and certain most necessary upgrades to any car, truck, or SUV headed for a track event is replacing the OEM brake fluid with one that can tolerate much higher temperatures without boiling. Upgrading fluid and bleeding brakes is an immensely important upgrade because driving at speed around a track adds an enormous amount of heat to the braking system, especially the rotors and calipers.
Why Air Is Bad
And when the brake calipers get hot they transfer that heat to the brake fluid. And when OEM or standard replacement brake fluid gets hot, it’s more likely to boil at a lower temperature, releasing air into the system. This is bad because air compresses very easily (which makes it great for tires, but bad for brakes). In this circumstance, when you squeeze down on the brake pedal, it goes mostly or even all the way to the floor because you’re compressing air rather than transferring braking force through the hydraulic fluid.
You might remember Pascal’s Law from school, whereby when there is an increase in pressure at any point in a confined fluid, there is an equal increase at every other point in the system. That’s why we use fluid to actuate the brakes on our cars.
It’s virtually impossible to drive in a consistent manner and improve your skills when the braking system is erratic; especially when a situation or even an accident can be avoided for around $60 in new racing brake fluid and less than an hour’s worth of your time.
How Air Gets Into Your Braking System
According to Anne Marie Helmenstine, Ph.D., a former research scientist for the US Department of Energy, explains where the problem lies. “A hygroscopic substance is able to adsorb water from its surroundings. Typically, this occurs at or near ordinary room temperature. Most hygroscopic materials are salts, but many other materials display the property [which is why table salt and sugar get lumpy on humid days – ed.]
“When water vapor is absorbed, the water molecules are taken into the molecules of the substance, often resulting in physical changes, such as increased volume. Color, boiling point, temperature, and viscosity can also change. When water vapor is adsorbed, the water molecules remain on the surface of the material,” Dr. Helmenstine writes.
So if water and air in the brake fluid are bad things, why is brake fluid formulated to absorb moisture in the first place? Good question. The decision was made many years ago that to reduce the risk of brake lines rusting through from the inside, which is nearly impossible to spot, it’s better to trap any atmospheric moisture that gets into the braking system in the fluid itself. The fluid is much easier to change than steel brake lines and it helps to avoid catastrophic failure. There are pure race fluids that have no hygroscopic (not hydroscopic, BTW) properties, but in order to meet DOT standards for use on the street, a high-performance brake fluid needs to maintain its hygroscopic qualities.
End of Science Class. Please move quietly to your next period class.
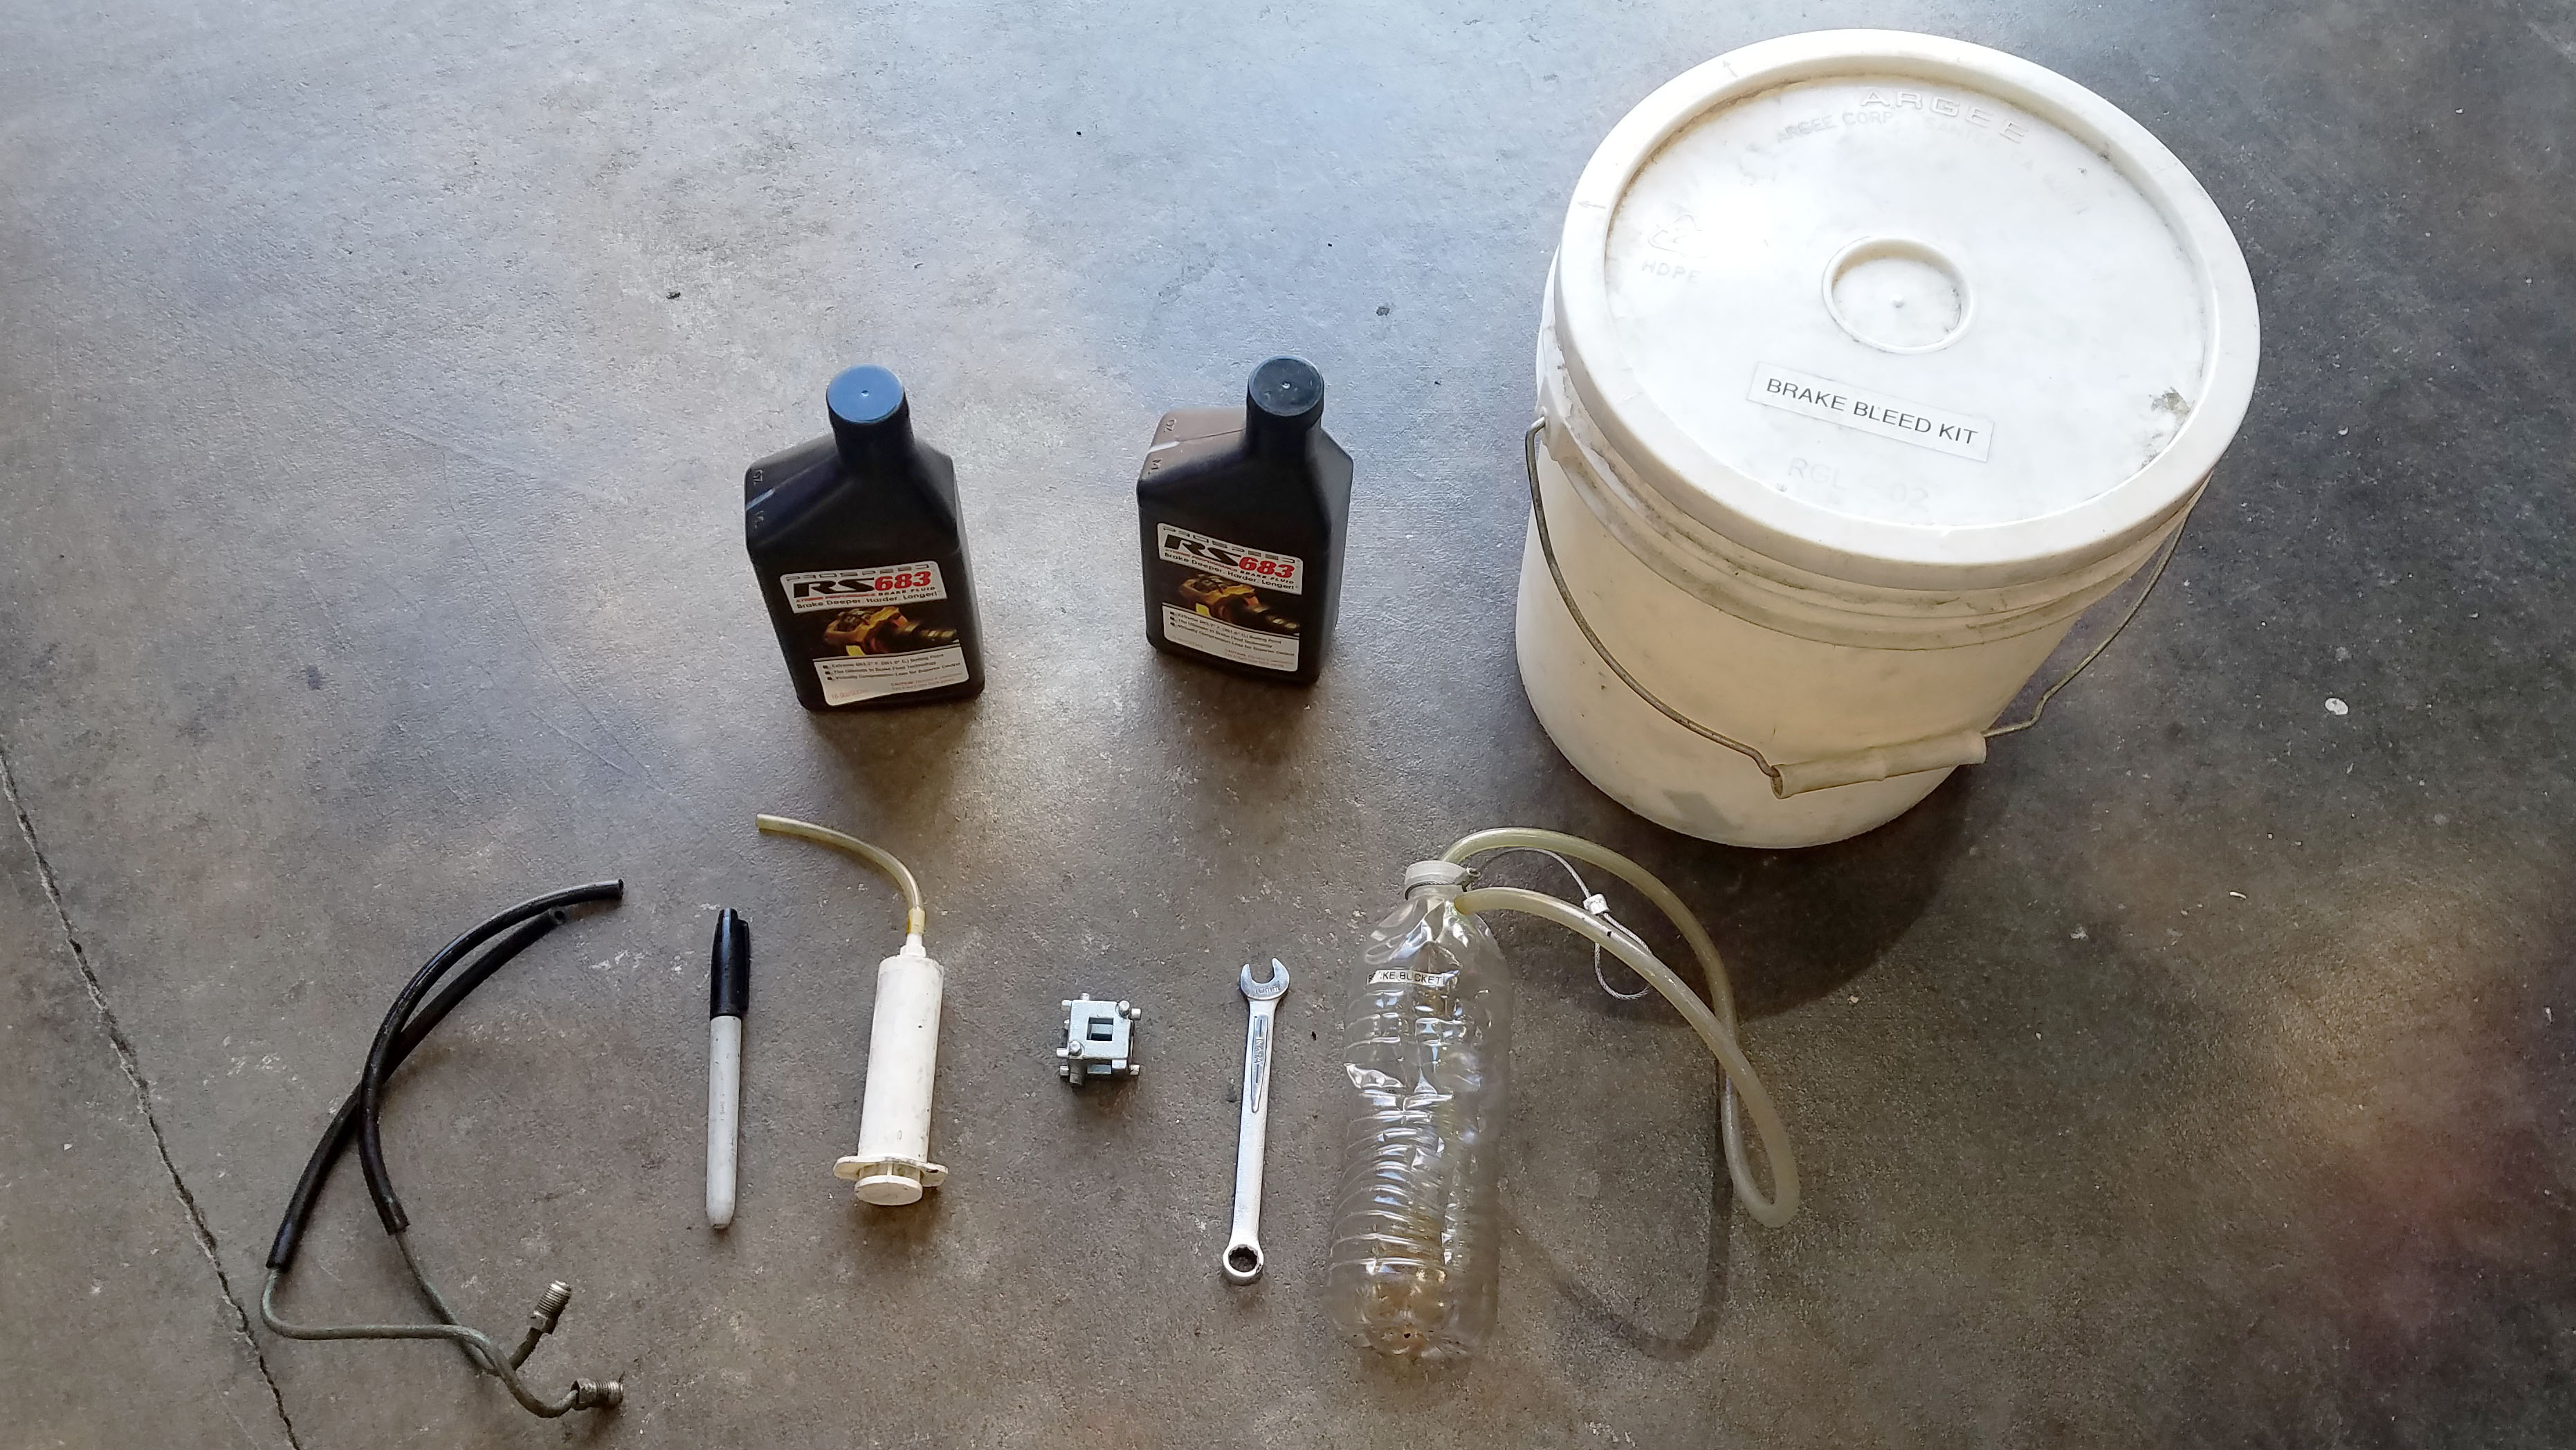
Our race trailer has a bucket packed with everything we need to bleed the brakes on our Honda Challenge race car: a 10 mm wrench for loosening the bleed screw, fresh bottles of DOT 4 high-temperature racing brake fluid, a bottle with a cable on it to hang off a wheel stud and catch fluid, and a clear tube to go from the bleed screw to the bottle.
Tip One: Use a Brake Fluid That’s Formulated For Track Use
The type of racing brake fluid required for track day use isn’t something you will find on the shelves of your local auto parts store. You’ll need order ahead of time well before your track day. With Amazon carrying many of these fluids, there’s no longer an excuse for not getting your brakes ready on time. Really good racing brake fluids, like Performance Friction Corporation’s PFC665 or Hawk Performance’s HP520, are readily available online.

PFC Brakes’ RH 665 racing brake fluid has a dry boiling point of 617 degrees. In contrast, standard DOT 3 brake fluid is rated to 400 degrees, which a car on a race track with stock brakes can easily exceed.
I spoke with Chris Dilbeck, who is the NASCAR and Short Track Sales Manager for Performance Friction Corporation (PFC) Brakes, and he stated that the only way to maintain a stiff brake pedal is with a good racing brake fluid. “Our RH 665 racing brake fluid has been tested by Porsche and numerous racing teams,” said Chris. “Our fluid is often compared to Castrol SRF for its similarity in performance, however our fluid is only $29 per bottle, where Castrol SRF goes for about $70 per bottle.”
Racing brake fluid is certainly more expensive than DOT 3 fluid from your local parts store but due to the level of heat a brake system sees during a track session, which can be over 1,000 degrees Fahrenheit, it’s a no-brainer that all of the hydraulic fluid in the braking system for a car driven on race track should be replaced with racing fluid.

To know how hot our brakes run during race conditions we use Genesis heat paint on the rotor. The red paint turned to yellow, which meant our brake rotor hit 1,076 degrees Fahrenheit. The fluid inside the caliper wouldn’t quite see that high of a number, but it certainly made us realize how important high-temp fluid is.
Tip Two: Proper Set Up
Here is how to prepare yourself, your tools and equipment, and your car to remove all of the old brake fluid out of the system using a simple process that doesn’t require any engineering skills or special tools:
PREPARATION STEP 1:
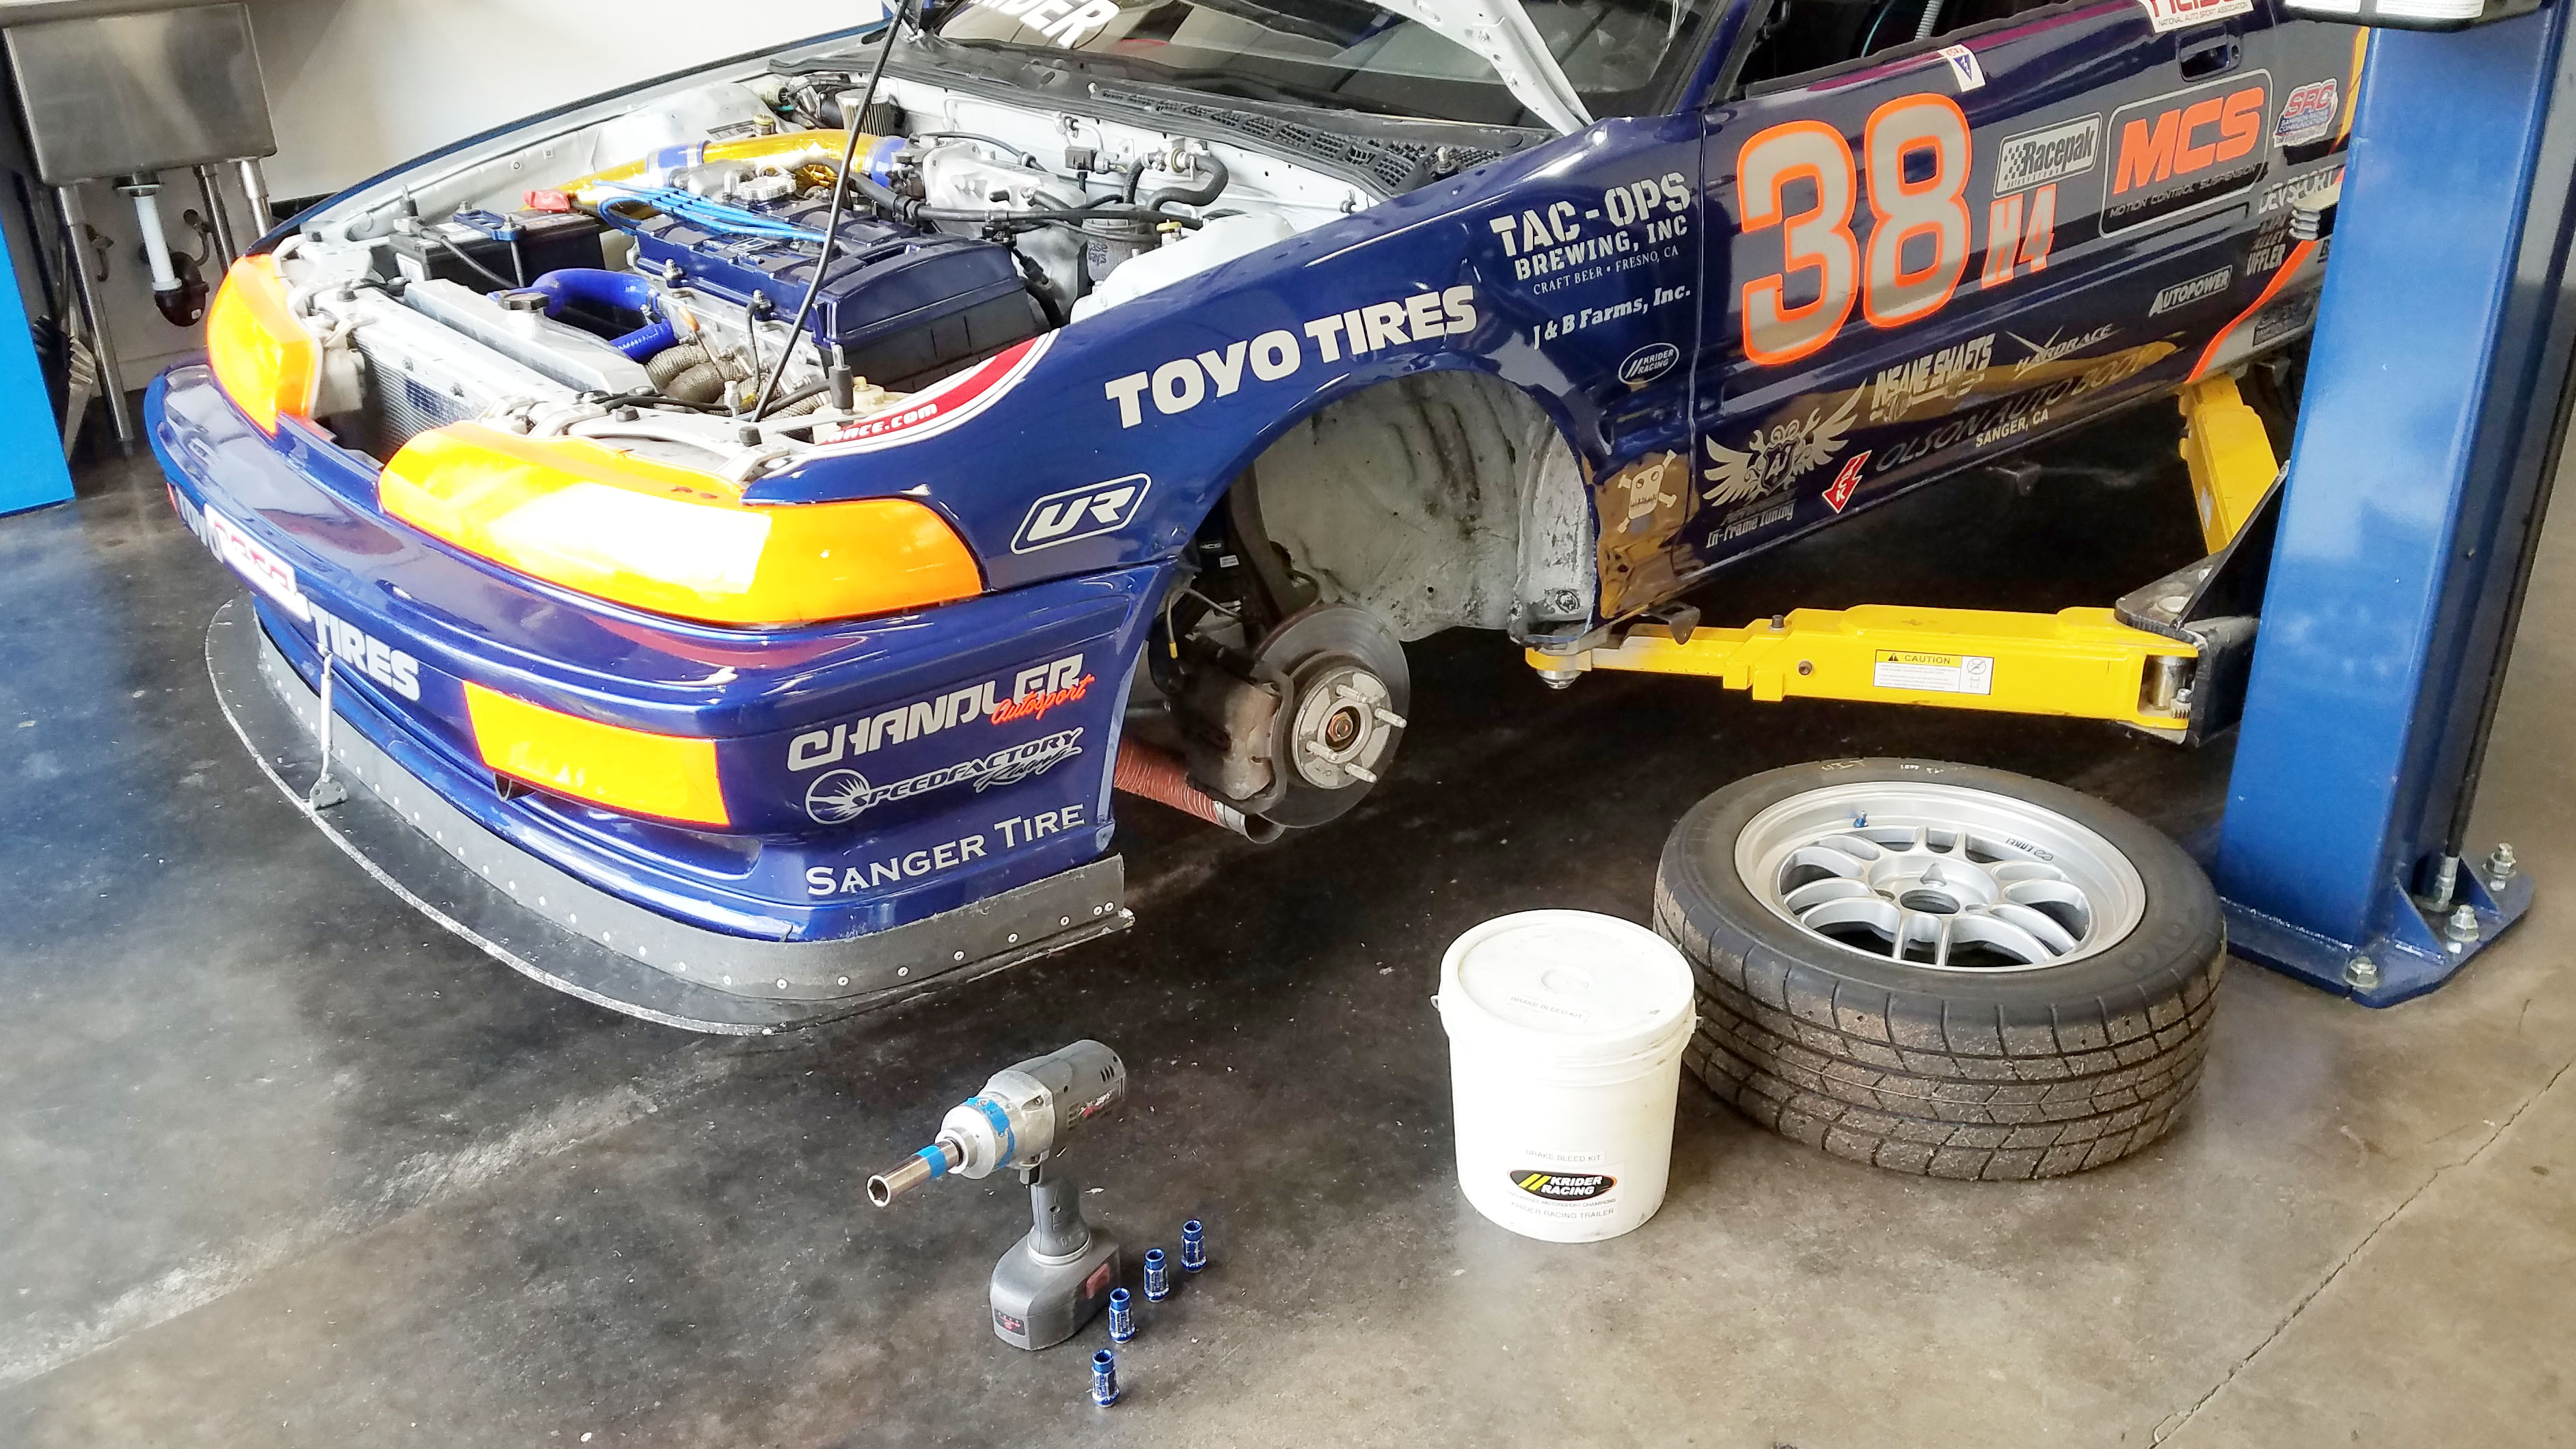
Put your car on four jackstands (the same height) or put the car on a lift (where the chassis is lifted, not the wheels)
PREPARATION STEP 2:
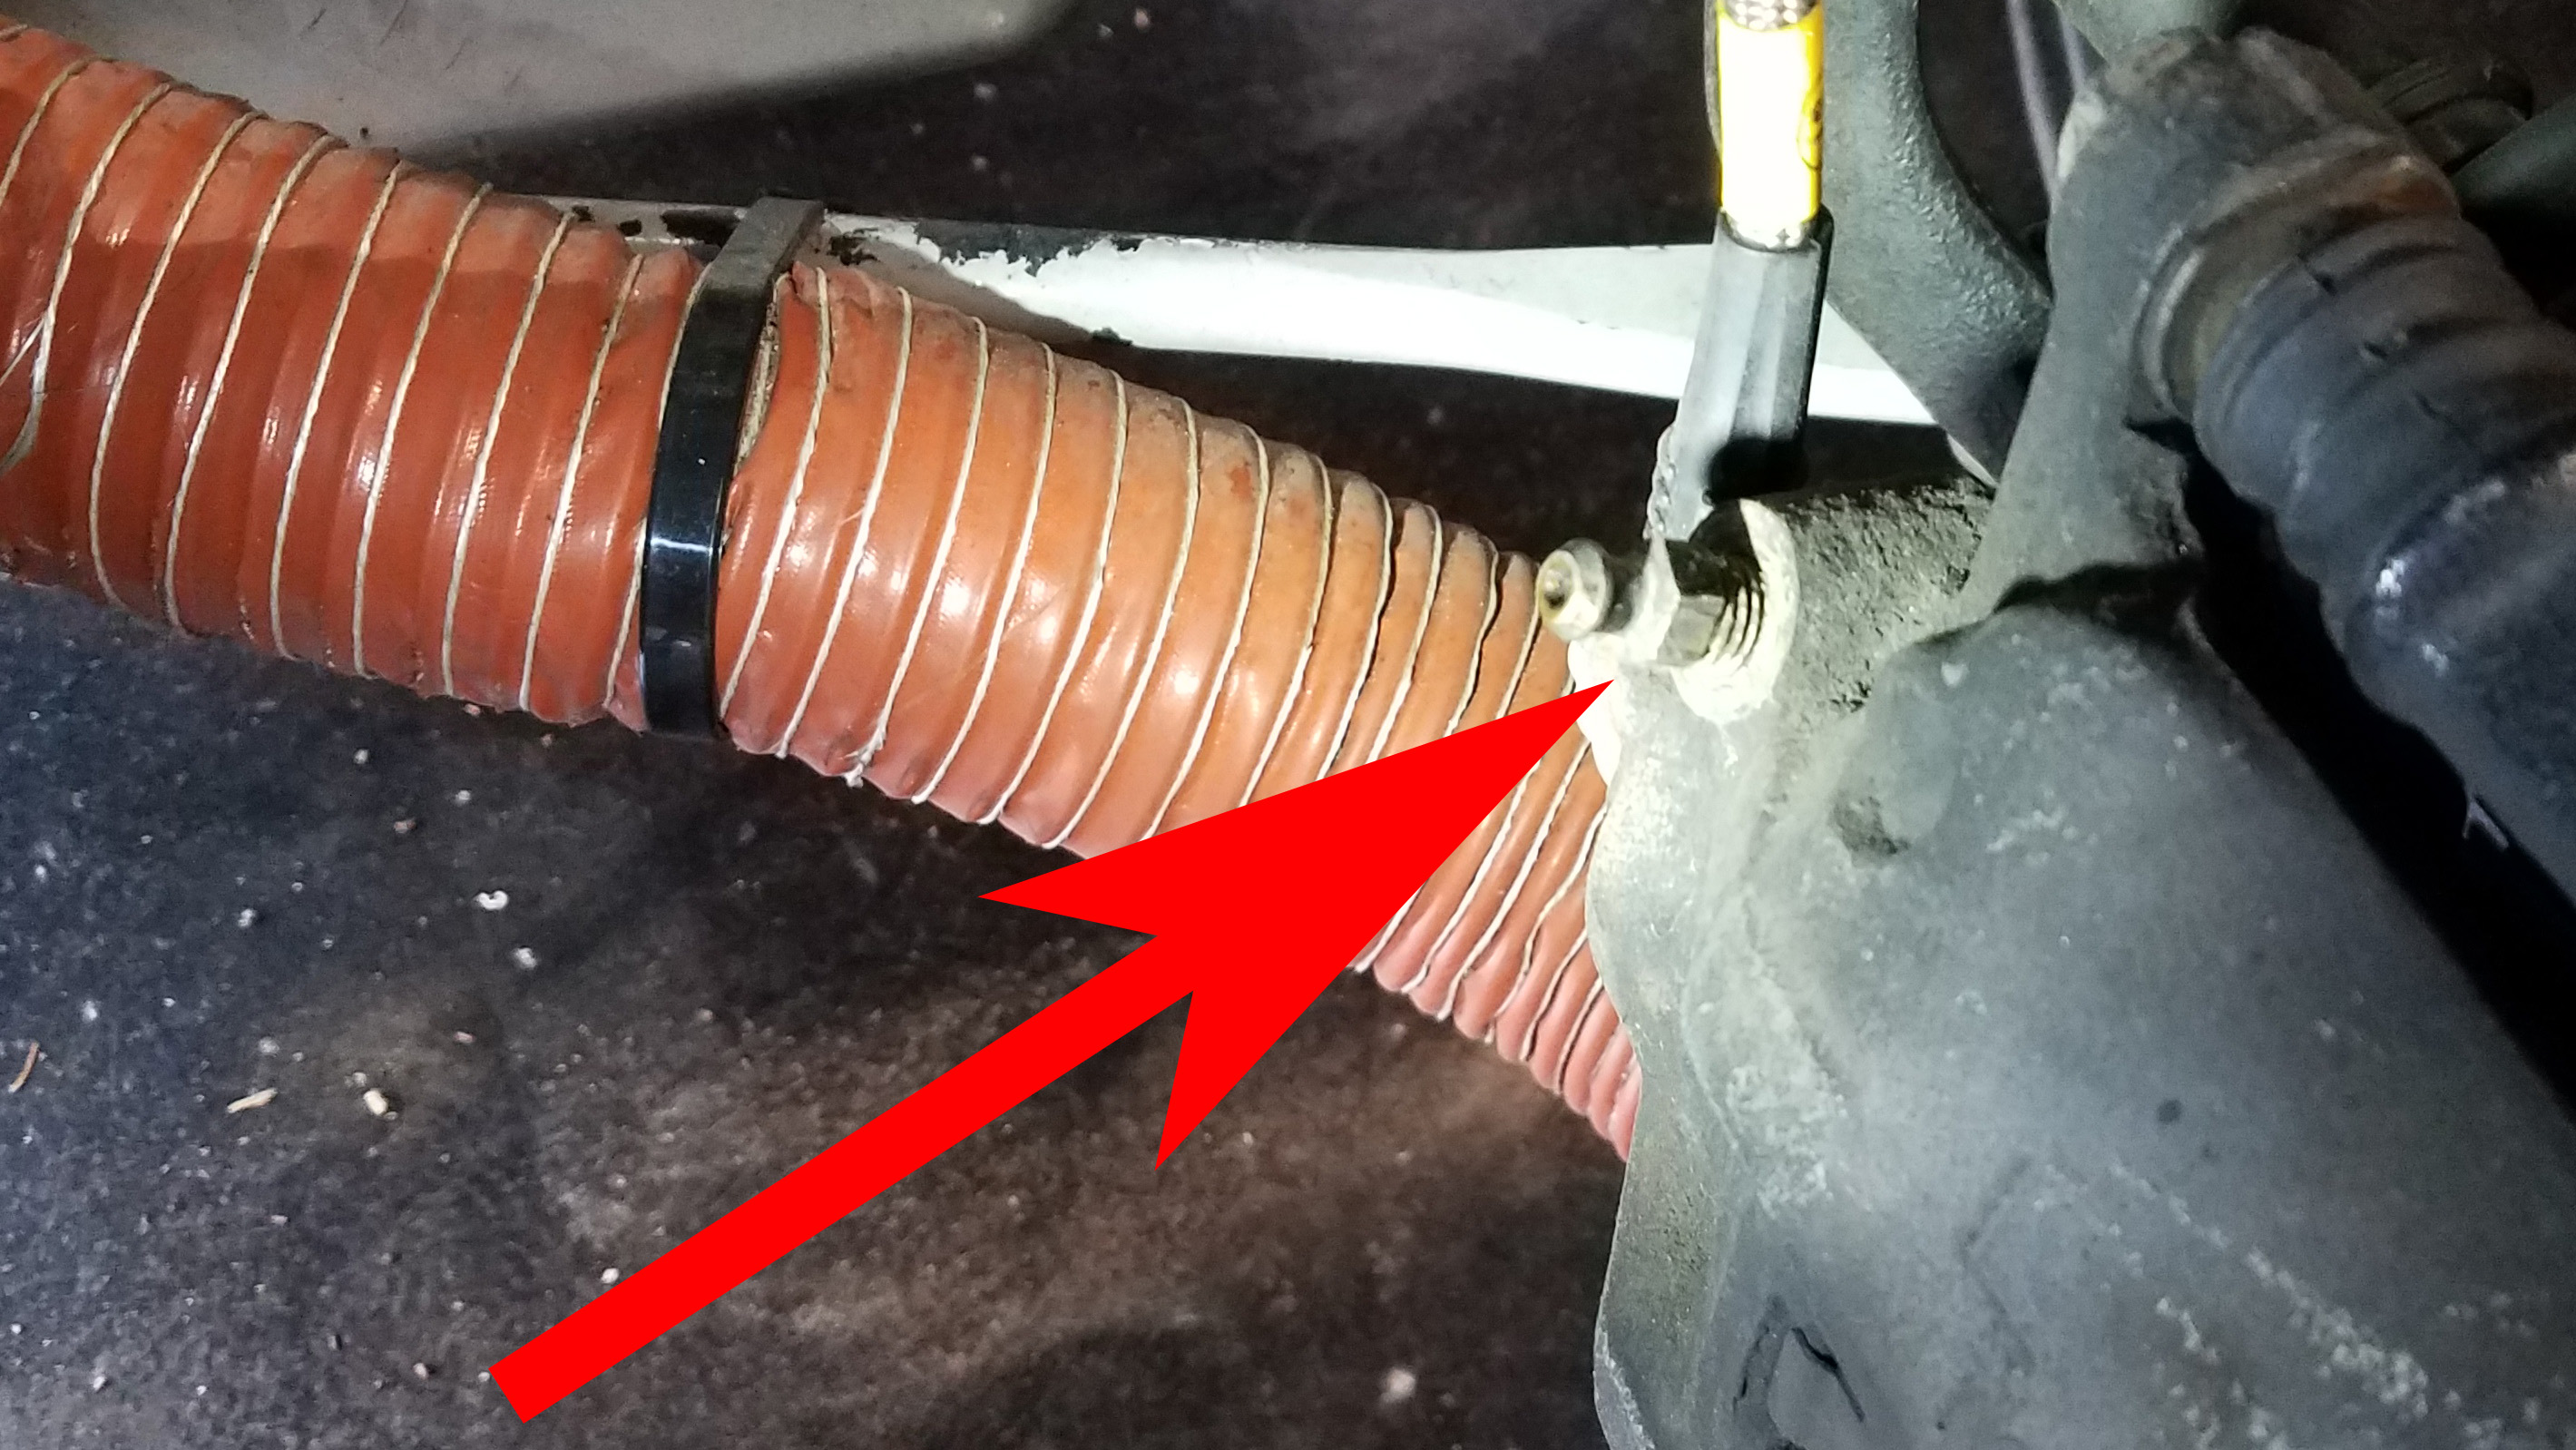
Remove all four wheels/tires and locate the brake bleed screw on each brake caliper.
PREPARATION STEP 3:
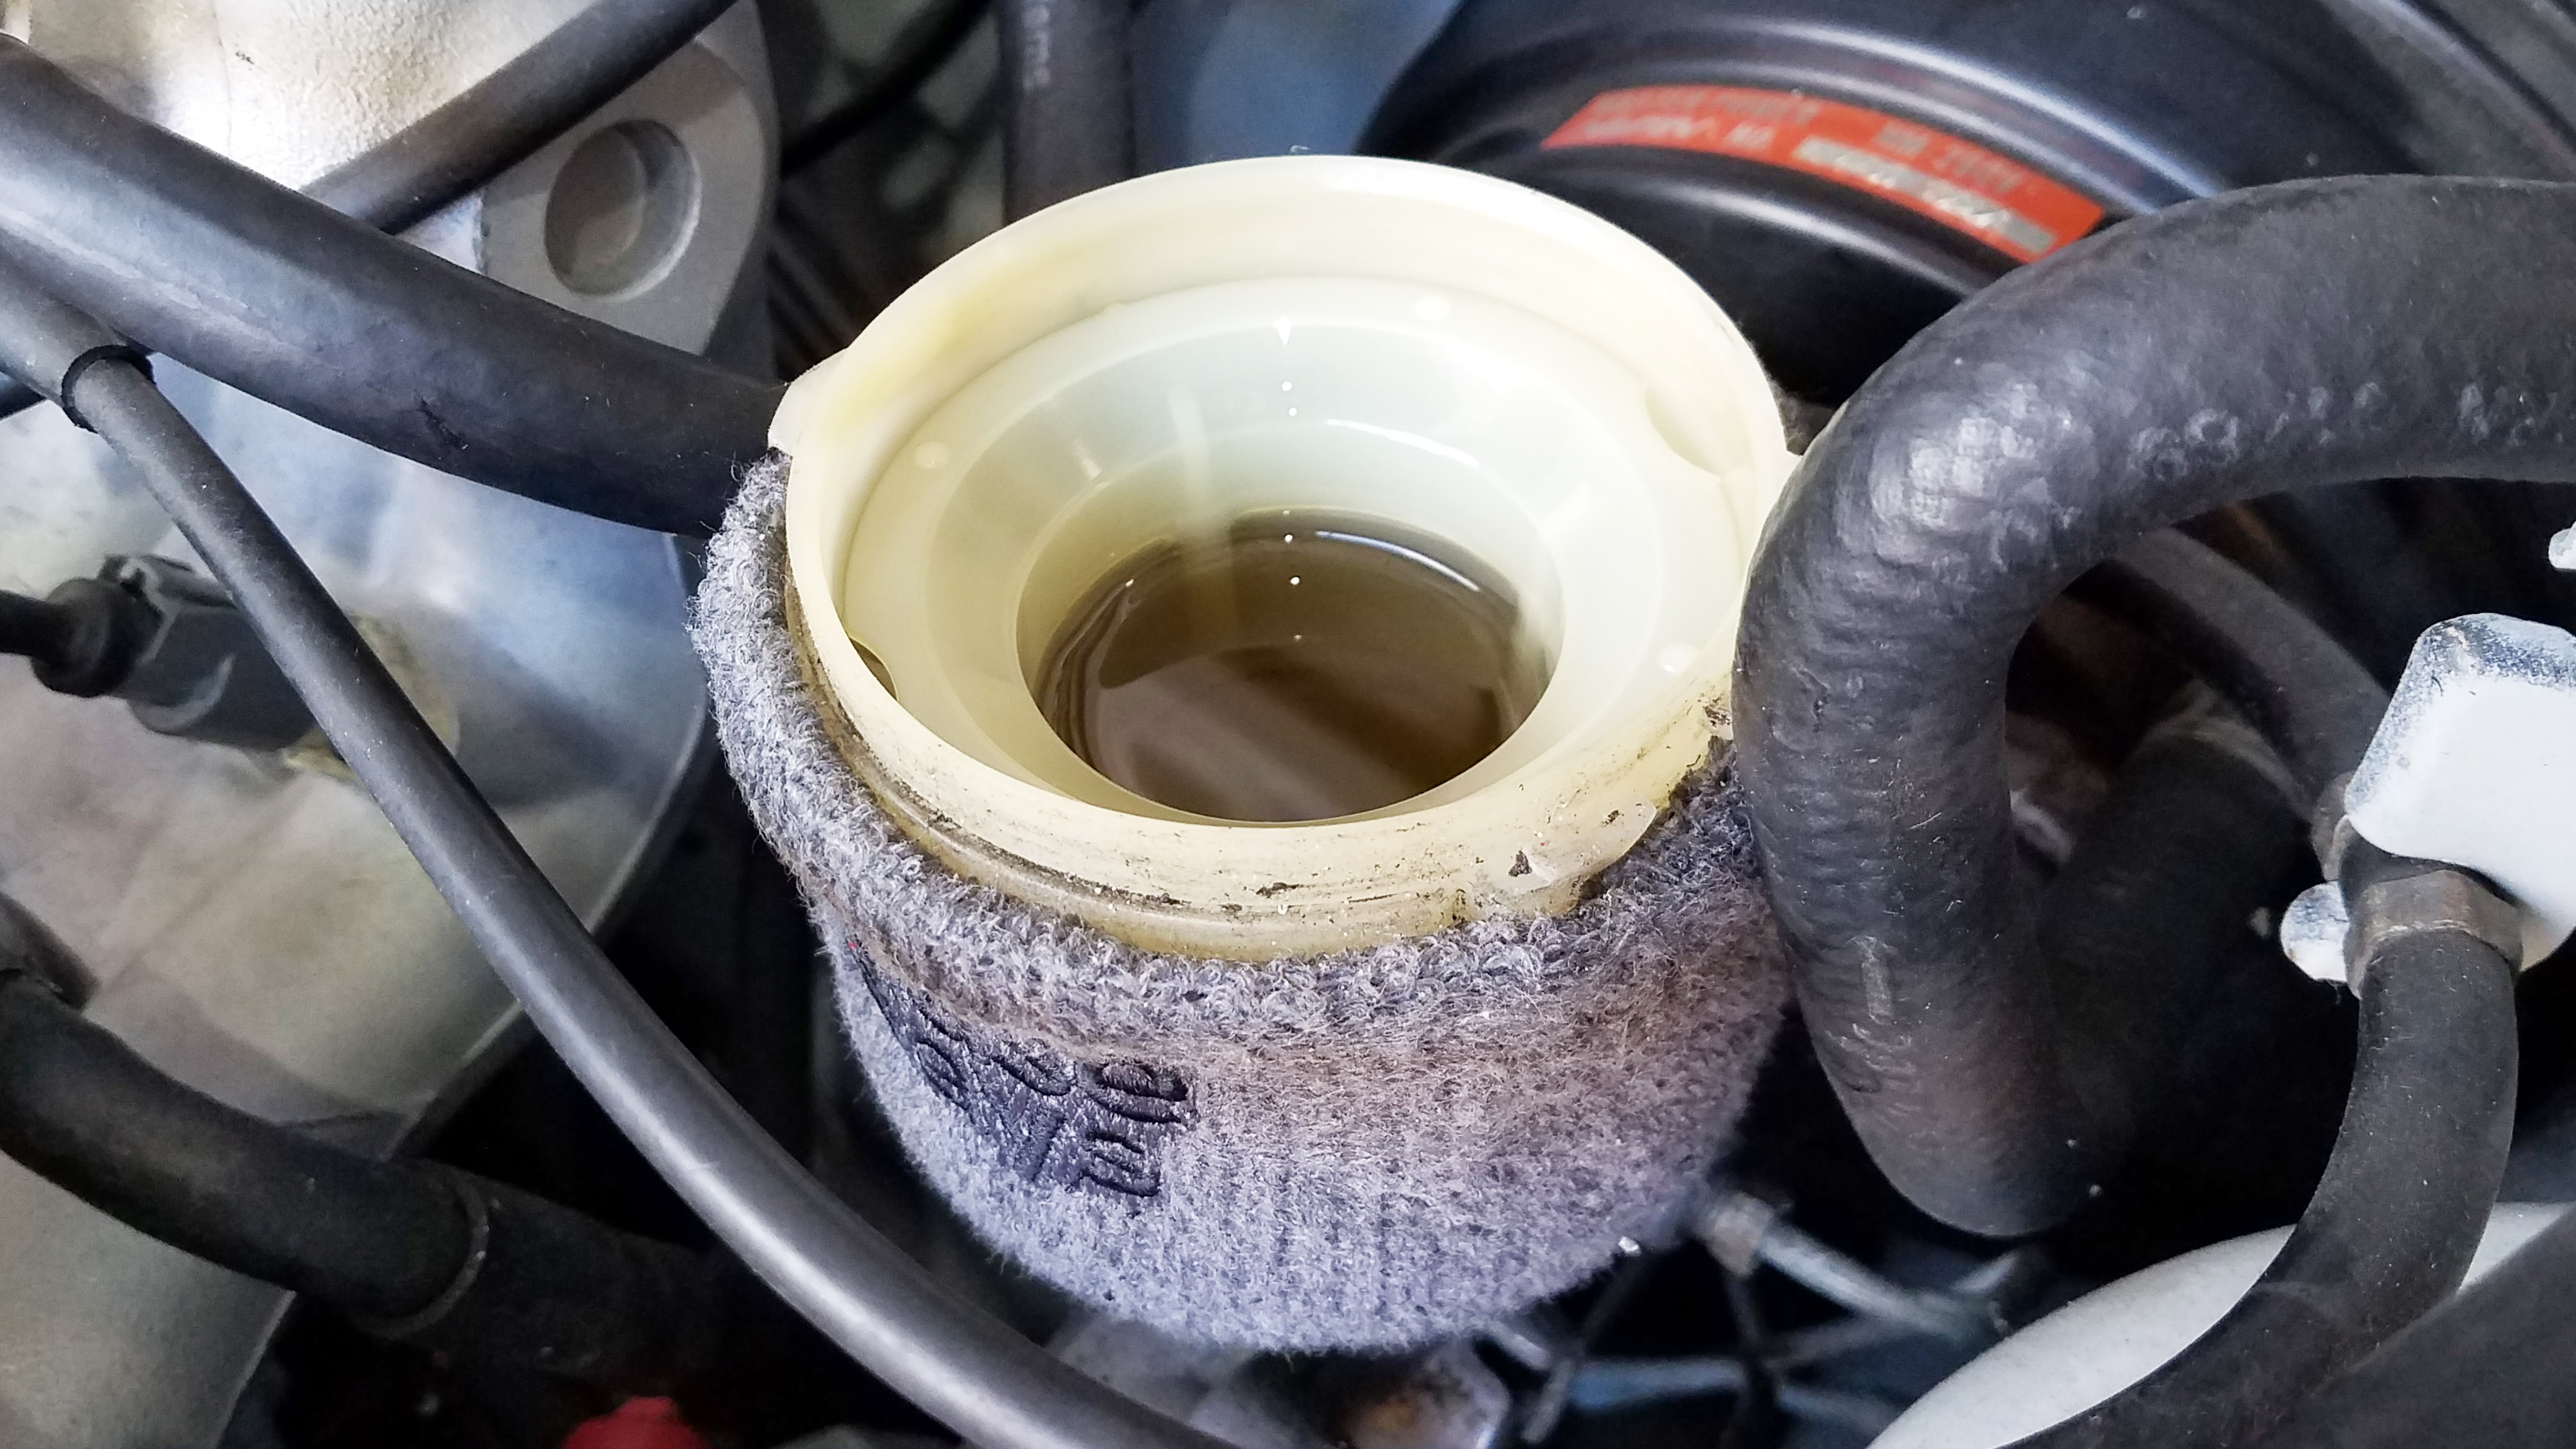
Locate the master cylinder (under the hood) and open the cap. Have your new racing brake fluid bottle (or bottles, depending on the volume of your system) ready to go. You will need a razor blade to open the seal on the top of each bottle; the bottles are nitrogen filled.
PREPARATION STEP 4:
Find a friend. This is a two person job. Sorry, your dog can’t help you here.
PREPARATION STEP 5:
Put the friend in the driver seat and tell them their leg is going to get tired, but not to complain, because nobody cares.
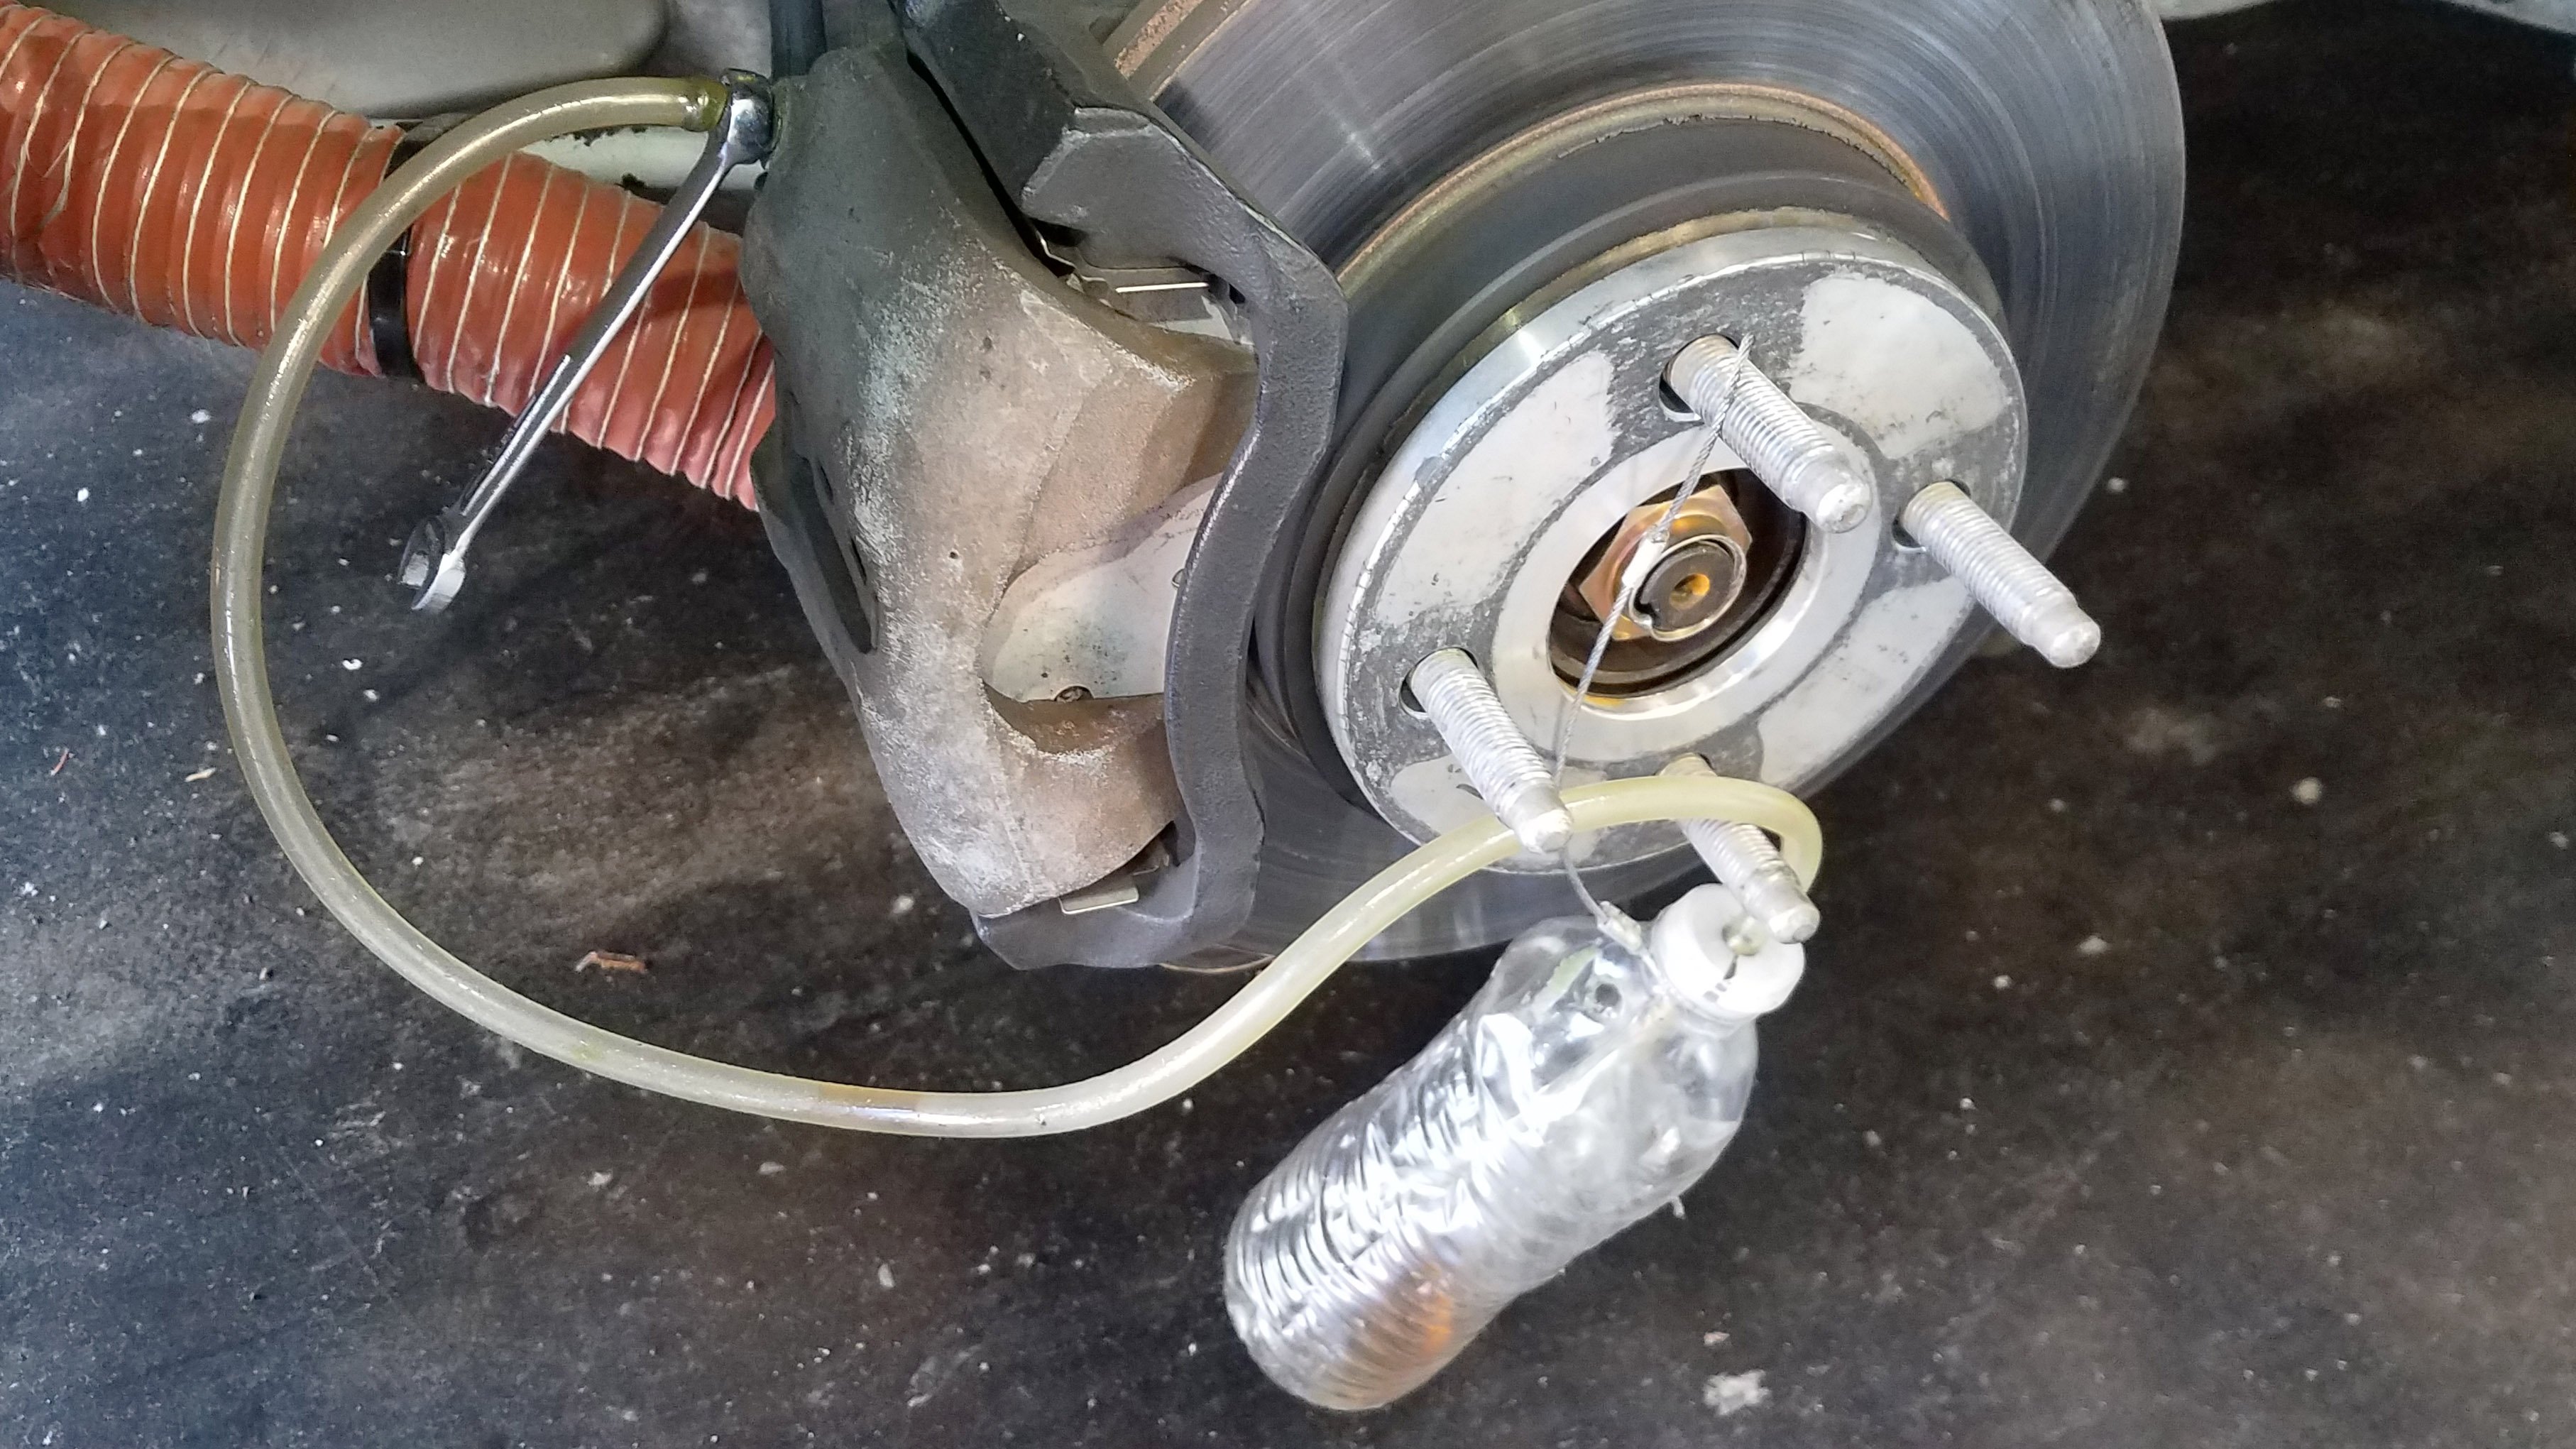
You don’t need any special tools to bleed brakes. We made this brake fluid catch bottle with a used water bottle and some tubing. Works great.
Pro Tip 3: Bleeding the Brakes
BLEEDING STEP 1:
Go to the furthest brake caliper away from the master cylinder (usually the right rear). The goal here is to push as much of the old hydraulic fluid out of the system so the further away are from the master cylinder the better. Bring the correct size end wrench or flare nut wrench to loosen the brake bleed screw. Also bring your brake fluid catch bottle and a rag. Rags and a spray bottle of brake cleaner are handy through this oftentimes messy process. If this is the first time you’ve bleed the brakes and you’ve never cracked the bleed screw before, be extra careful as it could be quite stuck. Make sure you’re using the proper size box end wrench for the best distribution of force as you don’t want to strip the bleed screw.
BLEEDING STEP 2:
Place the end wrench or flare nut wrench over the brake bleed screw and then place your clear tubing over the nipple of the brake bleed screw. This should be a tight fit where no air can seep in. Have your friend slowly, gently push on the brake pedal. Do not pump! Give the wrench a quick hit counter clockwise. You don’t have to turn the bleed screw much, just enough so that fluid begins to travel through the tube into your catch bottle. As this occurs your friend in the driver seat will feel the pedal go to the floor. Once he or she hits the floor, lightly tighten the bleed screw and tell your friend to “release.” You are going to do this process over and over again until you see fresh new fluid coming through the lines.

BLEEDING STEP 3:
It is important during Step 2 that you continually fill the master cylinder. You DO NOT want this to go dry while you are bleeding the brakes as you will add air into the system, which we’ve already learned is a bad thing. Neither the person pushing on the brake pedal nor the person at the brake caliper can see the master cylinder draining as you bleed the system. You either need another friend (three-person job) standing over the master cylinder pouring in fluid or you need to take small breaks and check the master cylinder fluid level height and make sure it always has sufficient fluid in it.
BLEEDING STEP 4:
Here is the work flow and commands our team uses as we go through this process:
The person at the brake caliper yells out, “Pressure!”
The person on the brake pedal presses on the brake and says, “Pressure!”
The person at the brake caliper slightly loosens the brake bleed screw and watches the fluid pour through the tube and checks for air bubbles.
When the person at the brake pedal feels the pedal hit the floor they yell out, “Floor!”
The person at the brake caliper then tightens the brake bleed screw. Once it is tight he then yells out, “Release!”
The person at the brake pedal slowly releases their foot from the pedal and it comes up. They yell out, “Released.”
Then the person at the caliper starts the entire process over again when they say, “Pressure!” Repeat, repeat, repeat. Fluid gets pushed through the system and the helper’s leg gets sore.
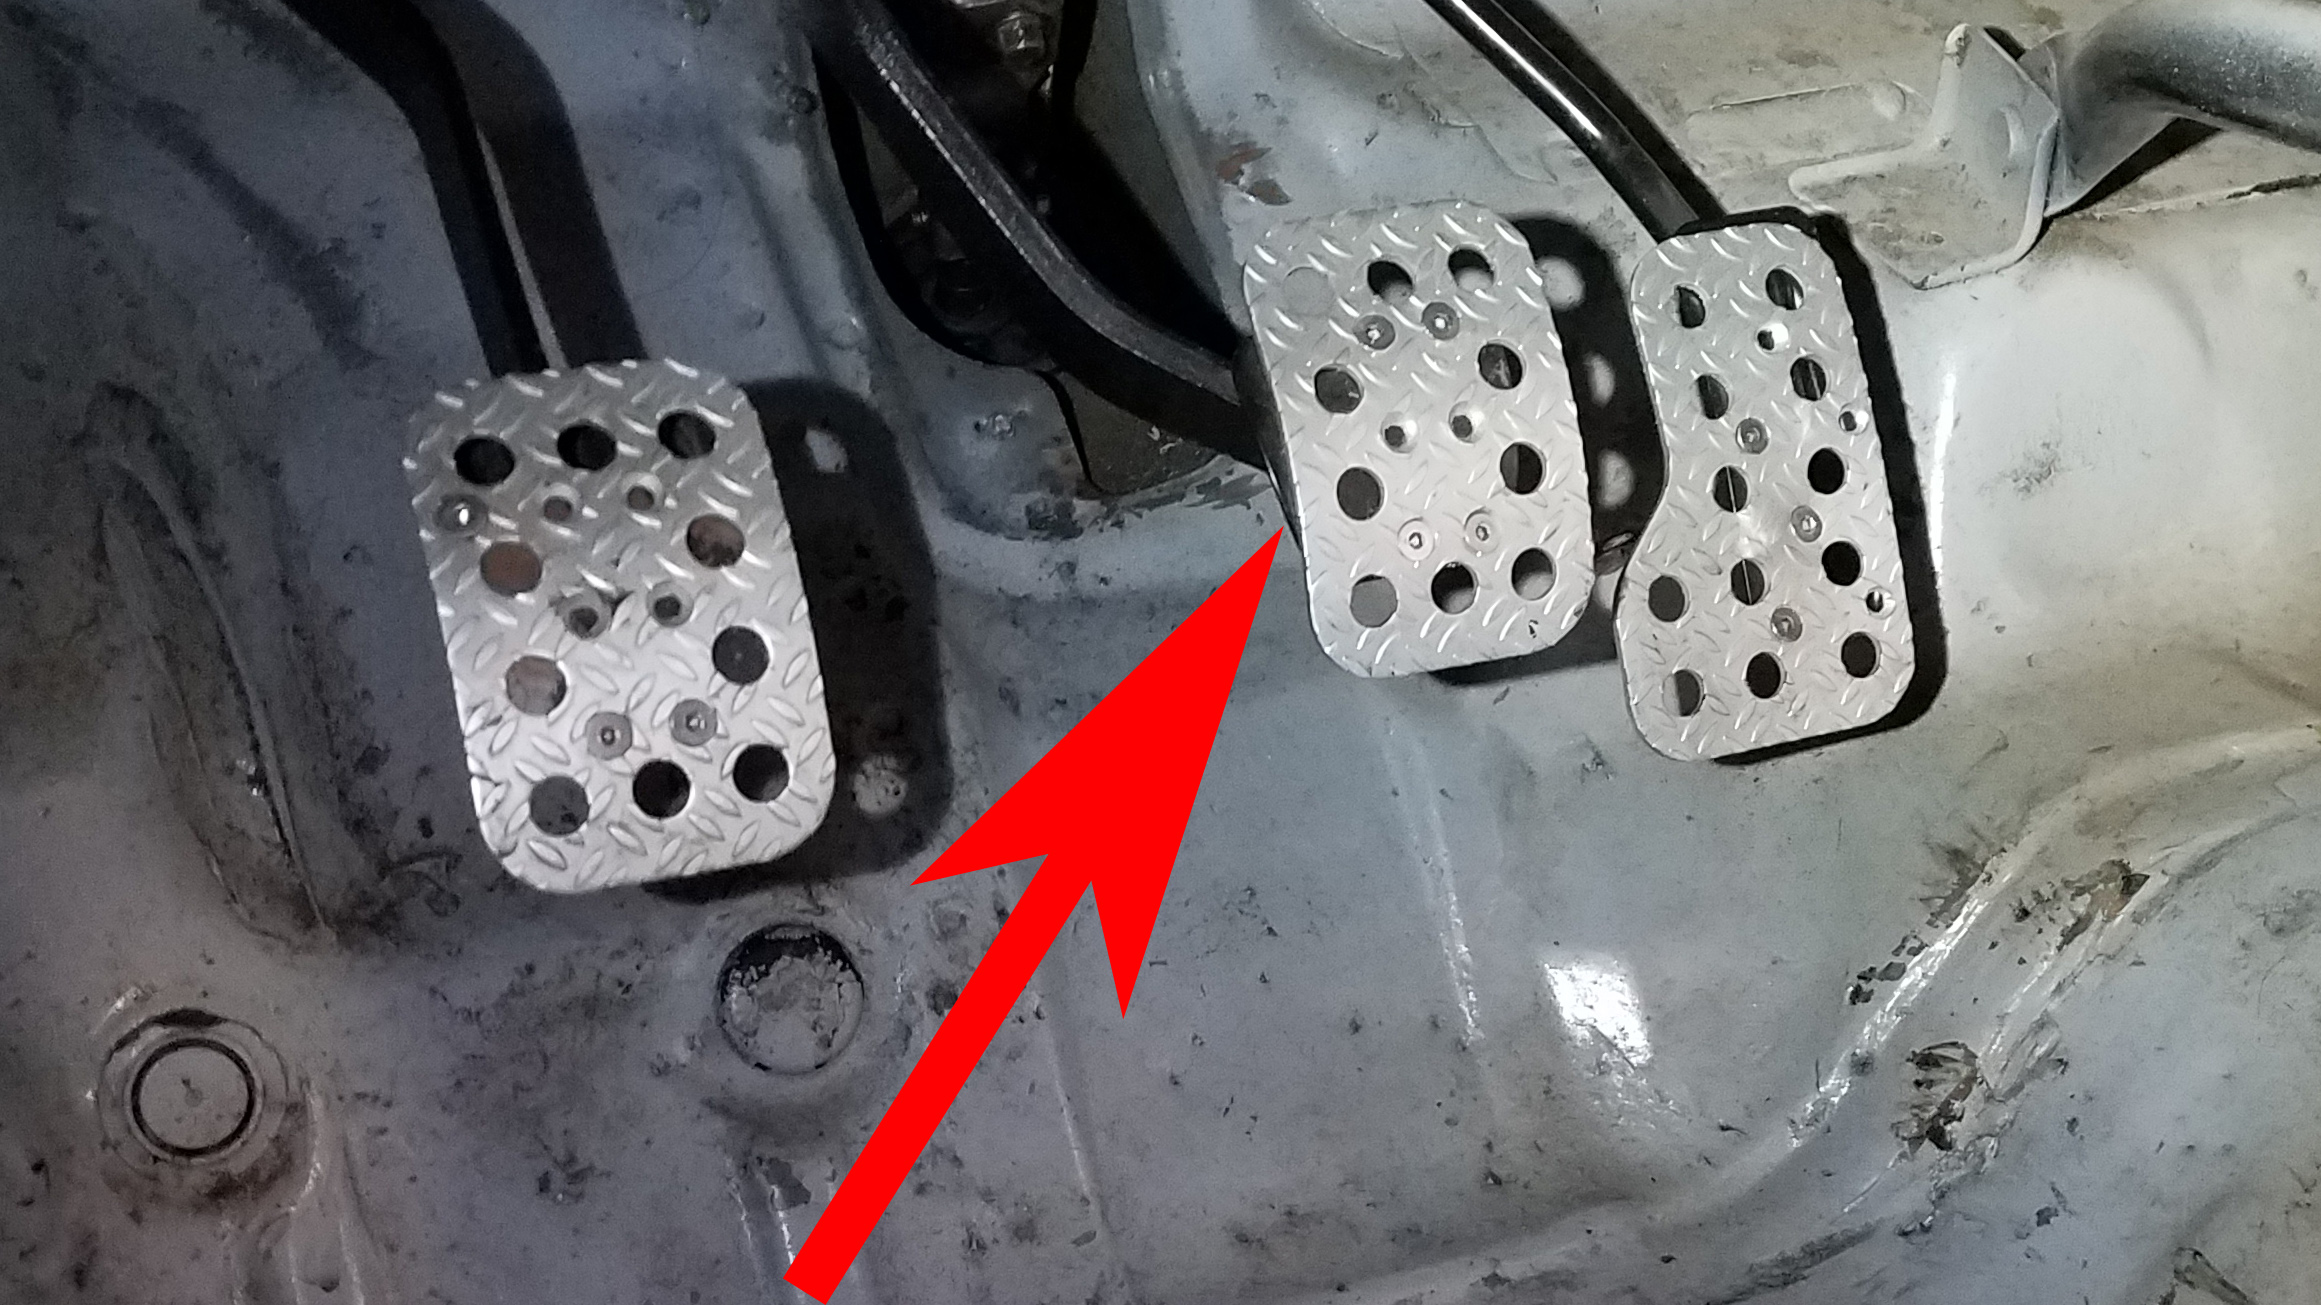
For your friends who have never driven a stick shift, remind them to press on the middle pedal. If they push on the clutch pedal, this brake bleed project is going to literally take forever.
BLEEDING STEP 5:
Once you see fresh fluid and no air bubbles coming through the line you are about ready to move to one of the other three brake calipers (usually the left rear, whichever next one is farthest from the master cylinder). But before you move, to complete the bleed on the brake caliper you started with, on your last bleed, you are going to try and close the bleed screw and catch the brake pedal as it is coming halfway down, before the person inside the car yells, “Floor.” This way you know for sure no air sucked up into the bleed screw before you get the chance to tighten it. Now it is time to move on to the next caliper.
BLEEDING STEP 6:
Repeat steps 3, 4, and 5 (remembering to check the fluid in the master cylinder constantly) until all four brake calipers are bled and only clean fluid with zero air bubbles is visible in the tube at the bleed screw.
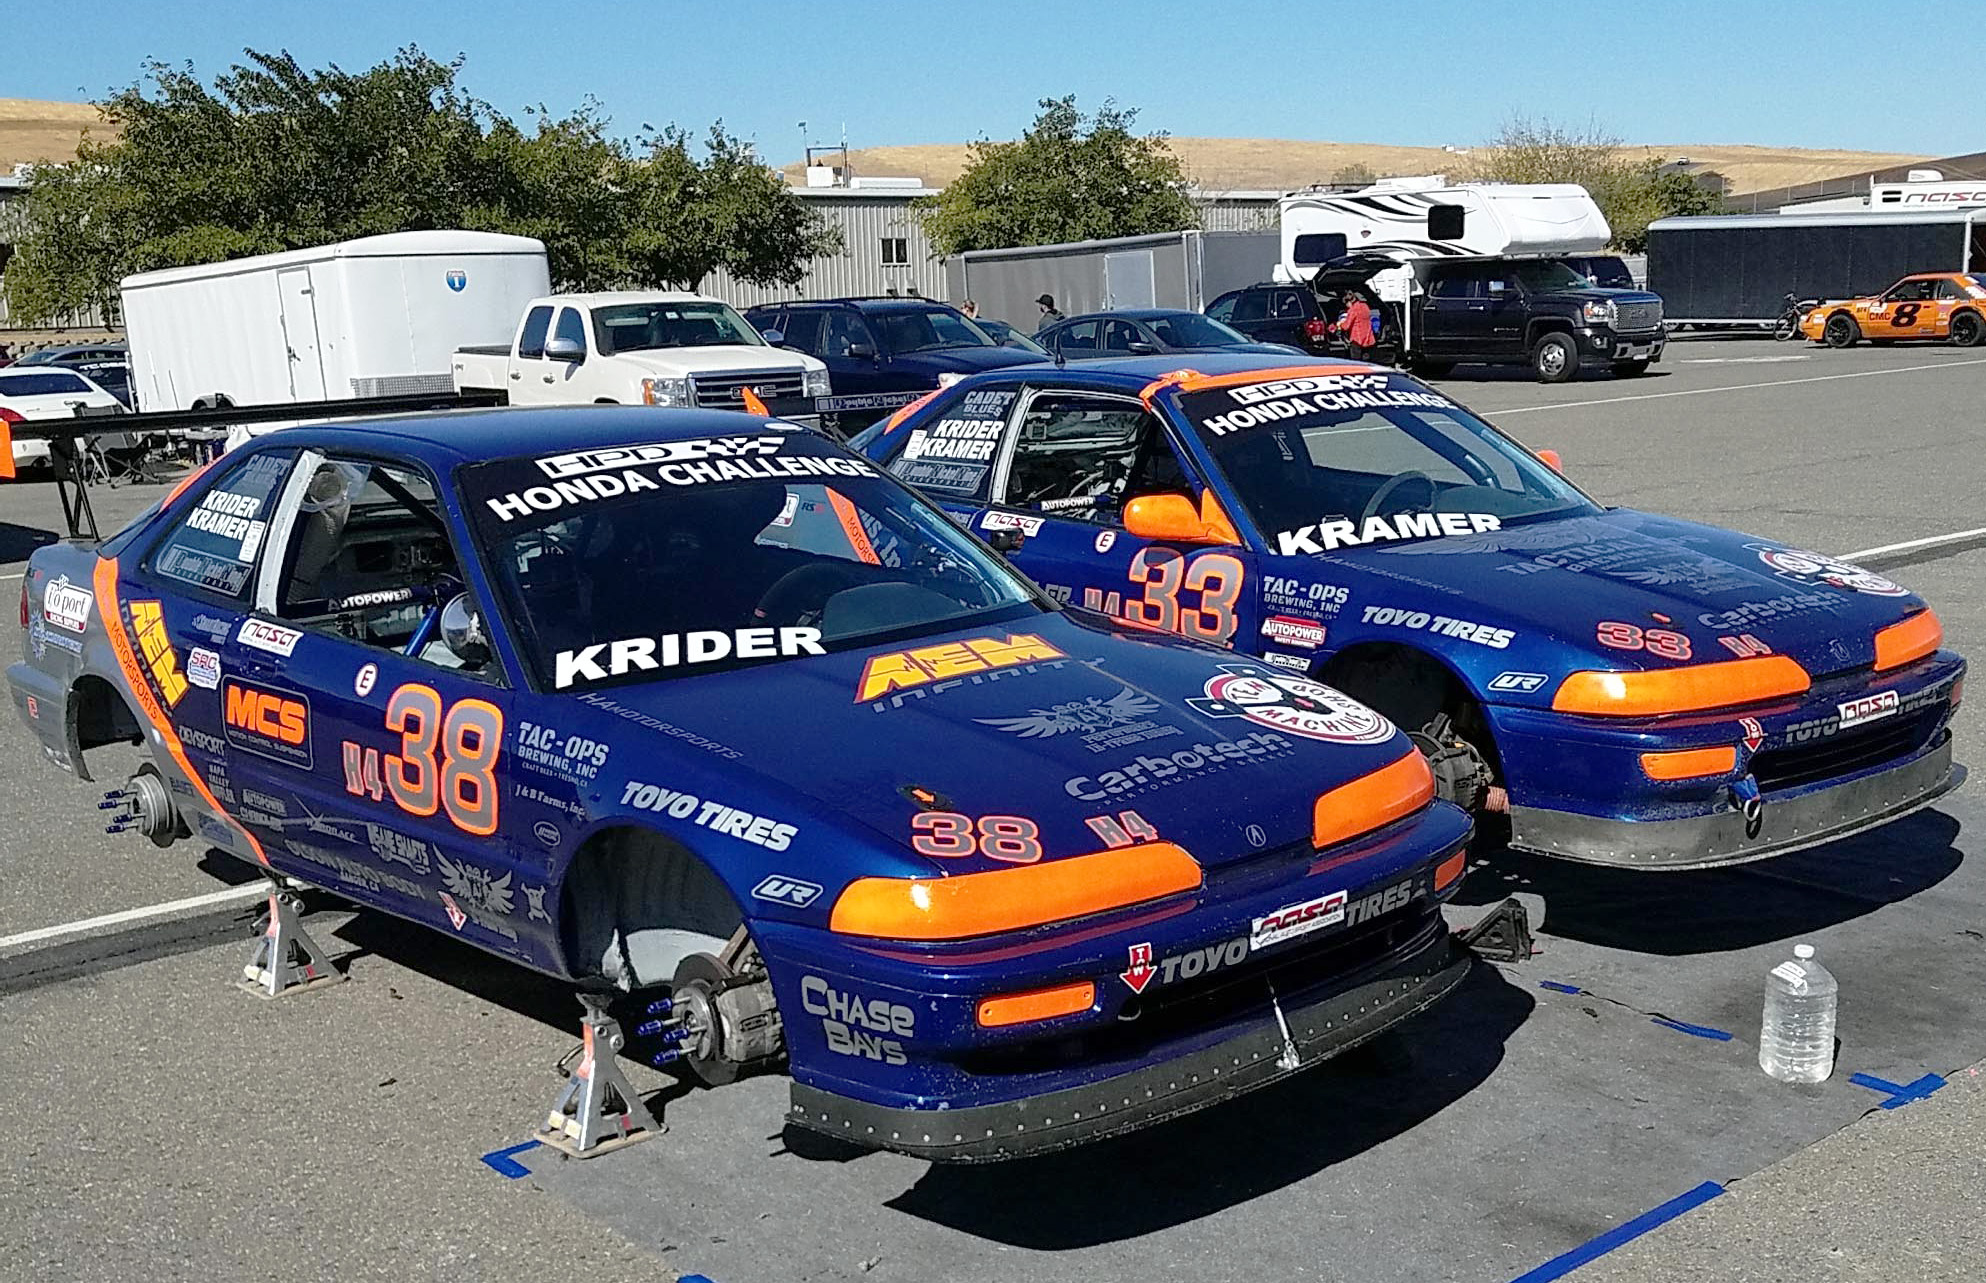
Look at the routing of your brake lines when deciding which brake caliper is the furthest from the master cylinder. On our Honda Challenge race car our left front caliper is directly under the master cylinder (theoretically the closest caliper to the master cylinder), however due to the routing of the brake lines (the lines go from the master cylinder across the bulkhead and through a T and then back across the bulkhead into the left front caliper) the left front caliper is further away (hydraulically speaking) than the right front caliper. We do our right front caliper last (because is has the shortest lines connecting it) while bleeding brakes.
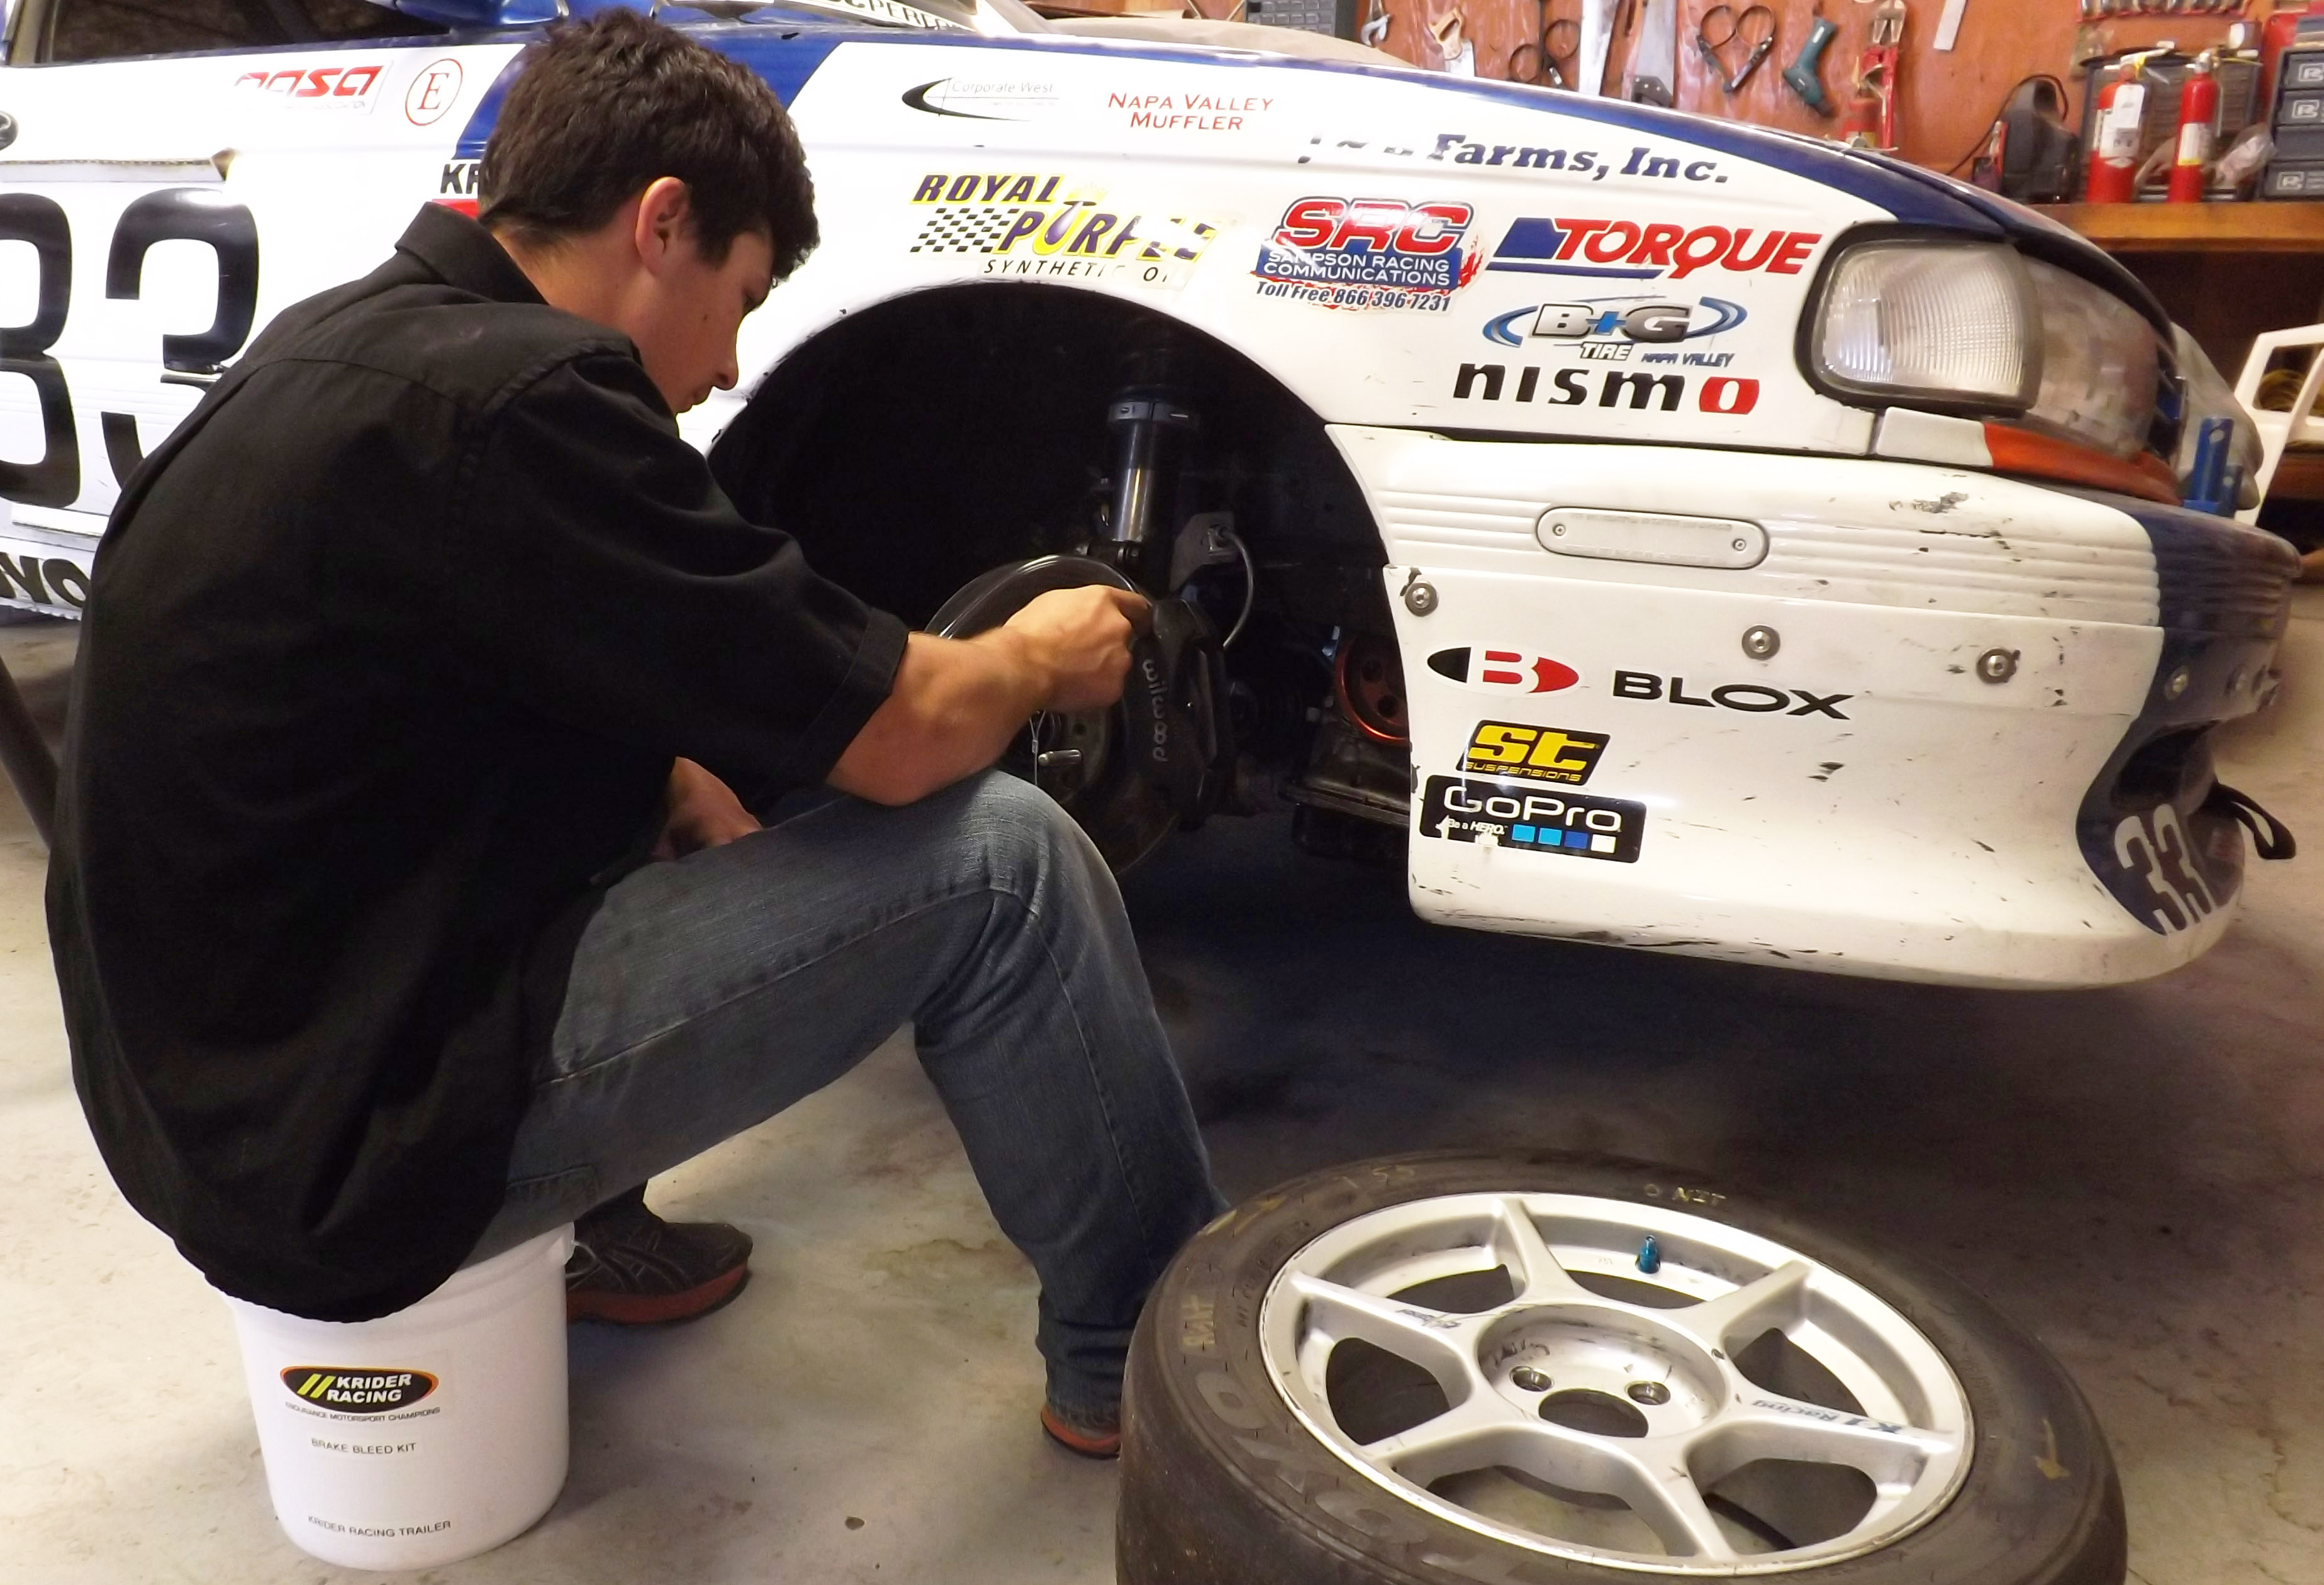
Our brake bleed kit bucket is perfect for keeping all of our tools in one spot, keeping the trailer clean, and it is also a great stool for sitting on during bleeding.
BLEEDING STEP 7:
Ensure all of your brake bleed screws are tight and clean them with brake cleaner and a rag. To check for fluid leaks have your helper press the brake pedal as far down as it will go while you inspect to confirm all the bleed screws remain dry. Ensure the master cylinder is topped off and close the cap on the master cylinder tightly. Replace wheels/tires, torque your lug nuts to the correct specifications and put the car on the ground.
Congratulations, you have just flushed your entire brake system with good performance brake fluid and you are off to the races, literally.
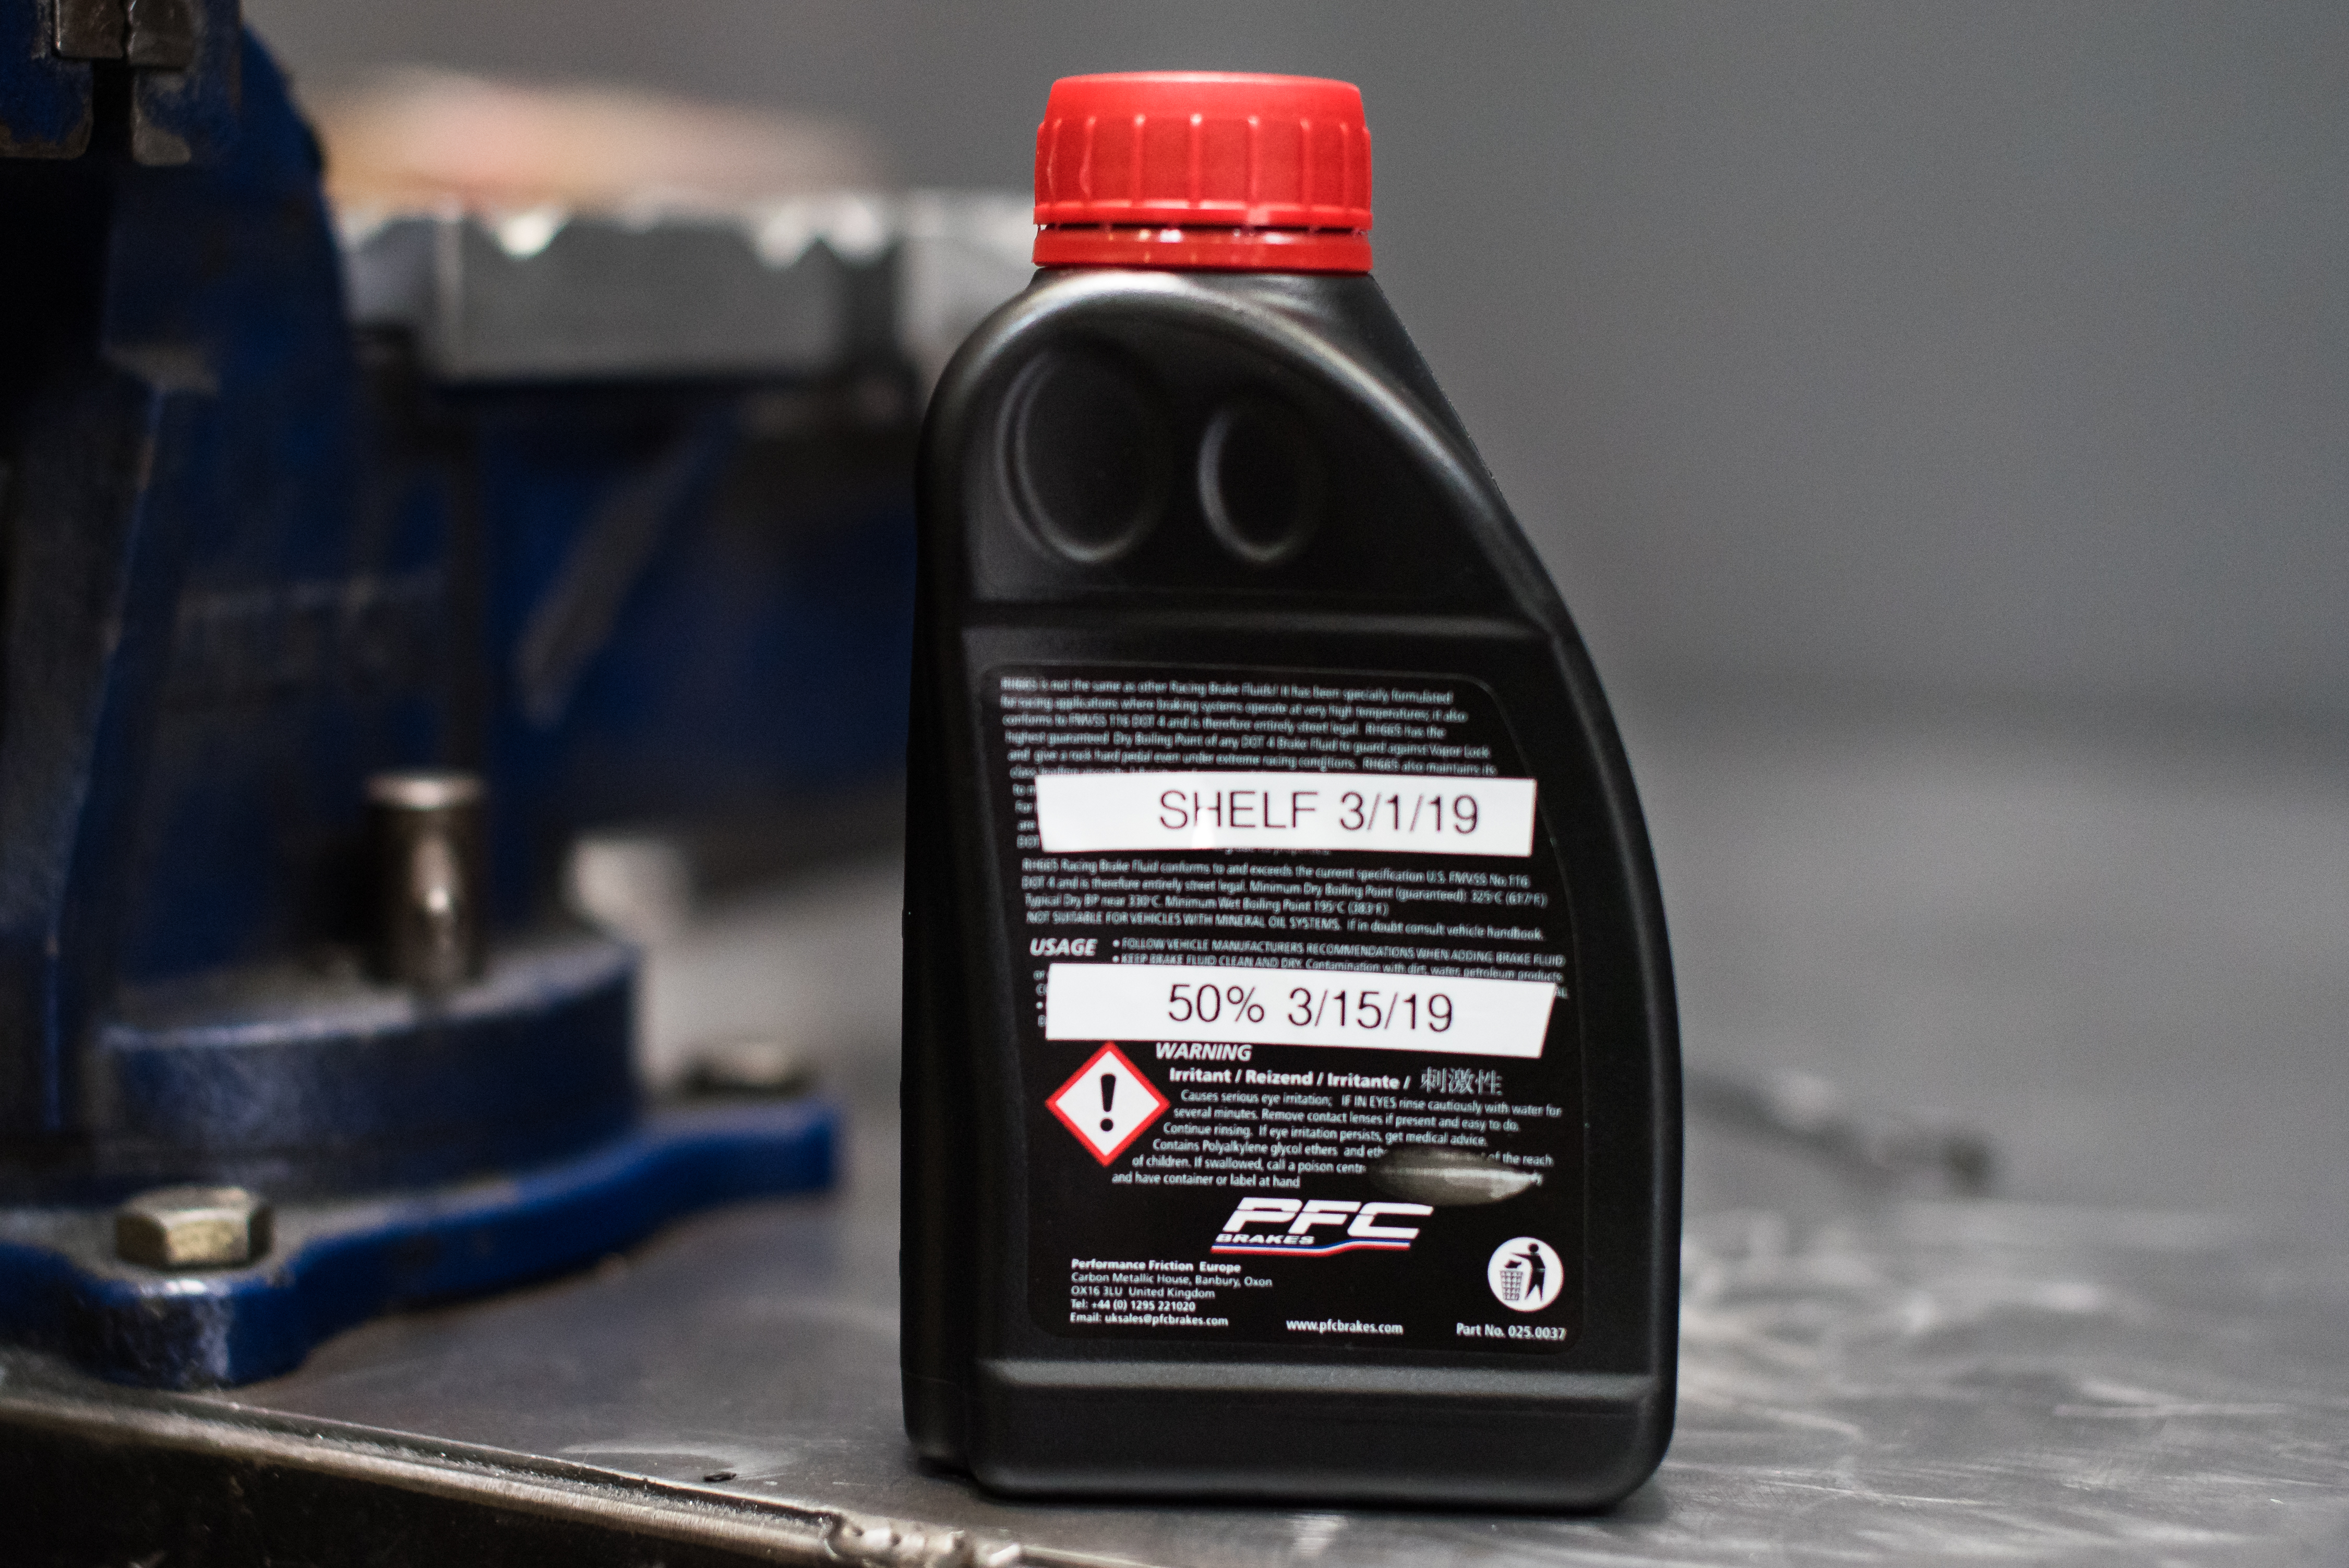
We label each bottle of brake fluid when it comes into our shop based on the date it hit the shelf, and later the date the bottle was opened. This helps us determine how old an open bottle of half-full brake fluid is. Once the bottle is unsealed its hygroscopic qualities start absorbing water from the atmosphere.
Pro Tip 4:
Most racing teams will bleed just what fluid is in the brake calipers after a track session or a race weekend. The process is exactly as explained above only the entire system isn’t flushed, instead only what small amount of fluid was in each caliper (the location where the fluid receives the the most heat during track duty) is bled out.
Chris Dilbeck of PFC Brakes agrees with that methodology, “After a full flush, we recommend at least one hot bleed after a session to ensure any air is out of the system. If the pedal remains stiff after a race, then the brakes don’t need to be bled. But if there is any alteration in pedal feel then it would be time to bleed them again.”
Pro Tip 5:
Our team keeps all of our tools and fluid in a brake bleed kit bucket to keep messy brake fluid away from other tools in the trailer. You can also use the bucket as a set while opening and closing the bleeder screws, If we come across a master cylinder that has really black old ugly fluid in it, we will use a syringe to take the fluid out of the master cylinder instead of pushing all of that bad fluid through the entire hydraulic system (then we refill the master cylinder with new fluid and start the bleeding process). We use rubber gloves while doing brake bleeds and normally use the three-person method to knock the job out quickly (one person on the caliper, one person on the brake pedal, and one person filling the master cylinder).
WARNING: Brake fluid is highly corrosive to vehicle paint so be careful not to let it touch your finish, even if it is transferred from your gloves. Keep rags handy. Don’t say we didn’t warn you.
After every session for Double Nickel Nine Motorsports, the race cars go up on four jack stands, are inspected and, if the brake pedal is at all soft, have the brakes bled.
Bleeding brakes is part of every professional and amateur race team’s processes and they use only the finest high-temperature brake fluids. The process is simple and inexpensive, which is why anyone thinking of taking their car out to a track day should certainly go through the procedure of upgrading its brake fluid. Have fun and remember the words, “Pressure, Floor, Release” over and over and over again. And the person pressing on the brake pedal, yup, that is going to be one sore leg.
